Flashlight Android App For Beginners
Build a simple Flashlight Android app with kotlin and Jetpack Compose.
Table of contents
Hello Android developers! In this article, we are going to build a small Android App that toggles your smartphone's flashlight on and off.
This is a great project to help you start your software(Android) development journey. I believe the best way to learn is through practice.
Software doesn't need to have hundreds of thousands of lines of code to solve a problem. As long as it solves a particular problem, the size of the codebase doesn't matter.
Let's get started!
The User Interface(UI)

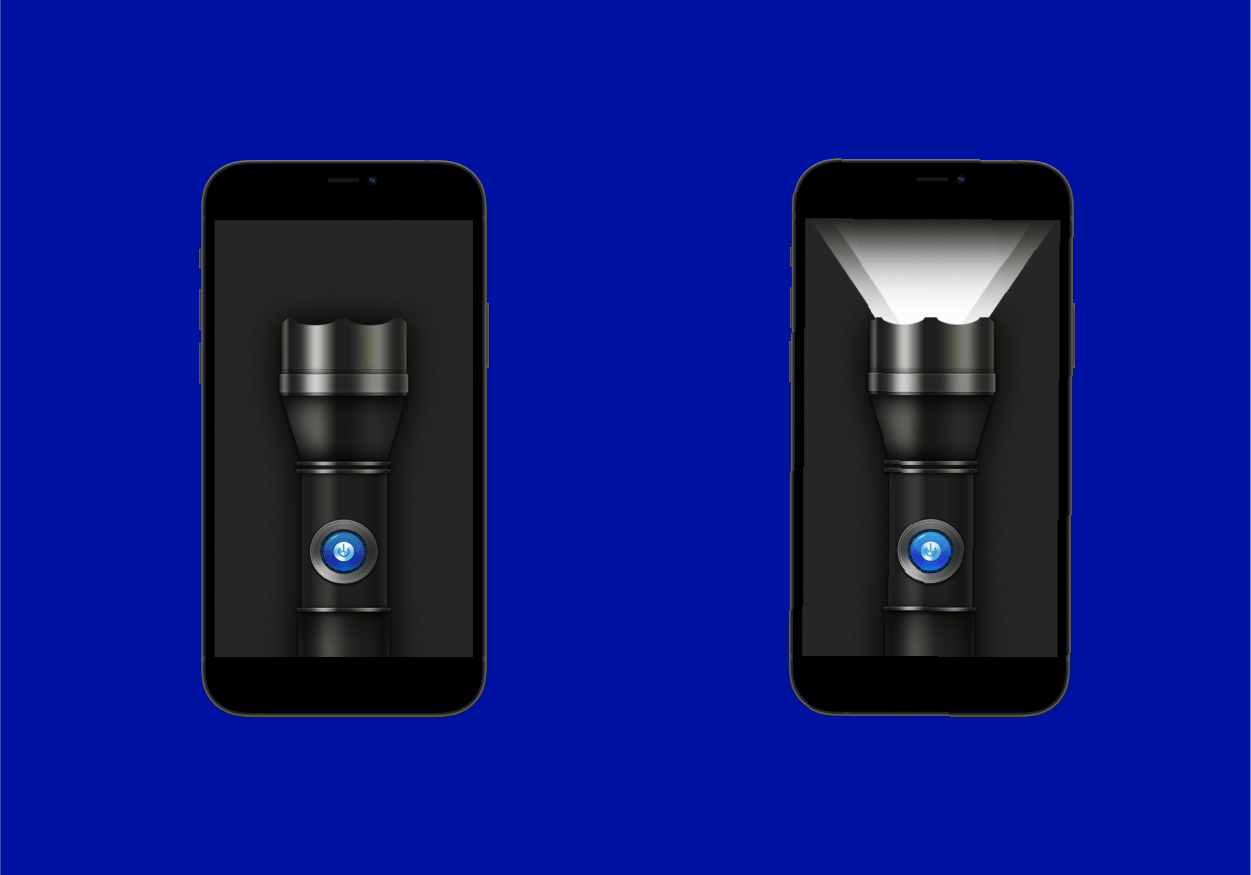
It's a pretty simple UI: two background images which we shall change dynamically depending on whether the flashlight is on or off. We shall represent this state in a variable(Boolean).
Prerequisite:
- You should have the latest version of Android Studio and JDK installed on your machine.
- Know at least the basics of Kotlin and Jetpack Compose.
- You should be willing to learn:)
Setting up the project

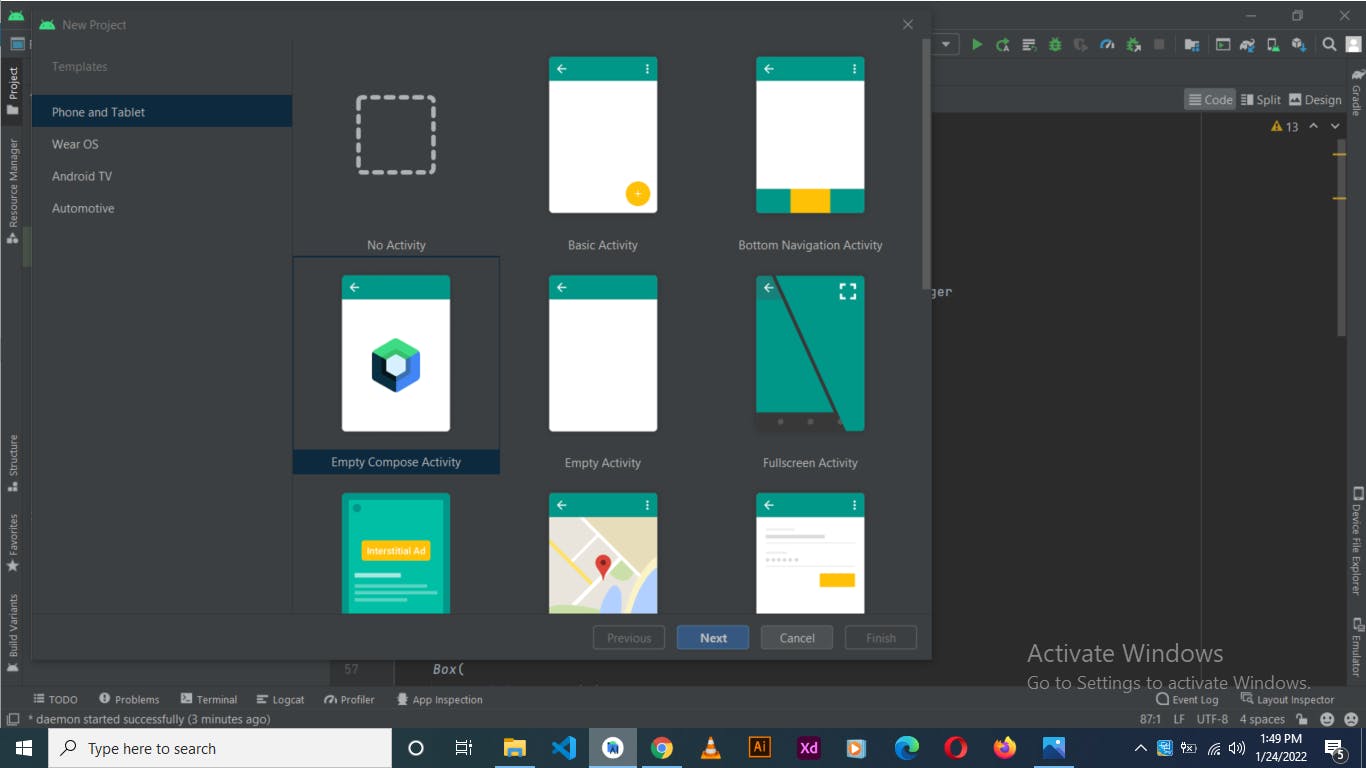
Start a new project on Android Studio by clicking on the top left 'File' button and select Empty Compose Activity as your starting template. This template comes with all compose dependencies pre-installed for you.
We are going to use the Camera API provided by the system to toggle on/off the flashlight.
So we need to get permission from the device to use it. To do so, copy this line of xml in the manifest file.
<uses-permission android:name="android.permission.CAMERA"/>
Note that we are only going to use the Camera API setTorchMode() method to turns on/off the flashlight. We won't be launching the Camera.
With that set, we can now start playing around with the flashlight on our Main class file.
Coding the UI
package com.example.flashlight

import...

class MainActivity : ComponentActivity() {
    @RequiresApi(Build.VERSION_CODES.M)
    override fun onCreate(savedInstanceState: Bundle?) {
        var cameraM=getSystemService(CAMERA_SERVICE) as CameraManager
        super.onCreate(savedInstanceState)
        setContent {
        //Call composable
          FlashLightComposable(cameraM = cameraM)
            }
        }

    }
On our MainActivity we initialize the camera object and call it cameraM. This will allow us to switch on and off the flashlight.
Then on SetContent scope we call our FlashLightComposable and pass cameraM as a parameter.
Let's now create the FlashLightComposable outsite our MainActivity class.
@Composable
fun FlashLightComposable(cameraM:CameraManager){
    //Flashlight state(Boolean): TRUE or FALSE
    val state = remember{
        //set initial state to false
        mutableStateOf(false)
    }

    //Full Screen UI BOX composable
    Box(
        modifier = Modifier
            .fillMaxSize()
            .background(Color.Black),
        contentAlignment = Alignment.Center,
    ){
        //RENDER background image dynamically depending on state
          Image(painter = if (state.value) painterResource(id = R.drawable.light_on) else painterResource(
              id = R.drawable.light_off
          ), contentDescription = "power-off", modifier = Modifier
              .fillMaxSize()
              .fillMaxWidth()
              .clickable {
                //TOGGLE FLASHLIGHT
                 if (!state.value) {
                      //Get rear-facing camera ID: 0 by default
                      val rearCamera = cameraM.cameraIdList[0]

                      cameraM.setTorchMode(rearCamera, true)
                      state.value = true
                  } else {
                      val rearCamera = cameraM.cameraIdList[0]

                      cameraM.setTorchMode(rearCamera, false)
                      state.value = false
                  }

              })

    }

}
We create our main FlashLight composable and initialize a mutable state variable to false(initially). When the value of this variable changes, our composable should automatically re-compose and only change the part of the composable that depends on it( in our case the image composable should recompose with a different image)
On Image composable, we listen for a click event via Modifier.clickable property.
When our Image is clicked:
We first get the ID of our rear-facing camera(Id 0). You can also use the front camera(Id 1) or both if you want.
Then check the state of our
statevariable and depending on its state, we switch the flashlight ON or OFF using thecameraMobjectWe change the
statevariable to!state(the opposite of what it was), ourFlashLightComposablecomposable will detect this change and ourImagecomposable will change accordingly.
//Turn on the flashligt
   cameraM.setTorchMode(rearCamera, true)

//Turn off the flashligt
   cameraM.setTorchMode(rearCamera, false)
Final code
package com.example.flashlight
import...
class MainActivity : ComponentActivity() {
    @RequiresApi(Build.VERSION_CODES.M)

    override fun onCreate(savedInstanceState: Bundle?) {
        var cameraM=getSystemService(CAMERA_SERVICE) as CameraManager
        super.onCreate(savedInstanceState)
        setContent {
              //Call FlashLightComposable
               FlashLightComposable(cameraM = cameraM)
            }
        }

    }

@RequiresApi(Build.VERSION_CODES.M)
@Composable
fun FlashLightComposable(cameraM:CameraManager){
    //Flashlight state(Boolean): TRUE or FALSE
    val state = remember{
        //set initial state to false
        mutableStateOf(false)
    }

    //Full Screen UI BOX composable
    Box(
        modifier = Modifier
            .fillMaxSize()
            .background(Color.Black),
        contentAlignment = Alignment.Center,
    ){
          Image(painter = if (state.value) painterResource(id = R.drawable.light_on) else painterResource(
              id = R.drawable.light_off
          ), contentDescription = "power-off", modifier = Modifier
              .fillMaxSize()
              .fillMaxWidth()
              .clickable {
                  if (!state.value) {
                      //Get rear-facing camera ID: 0 by default
                      val rearCamera = cameraM.cameraIdList[0]

                      cameraM.setTorchMode(rearCamera, true)
                      state.value = true
                  } else {
                      val rearCamera = cameraM.cameraIdList[0]

                      cameraM.setTorchMode(rearCamera, false)
                      state.value = false
                  }
              })

    }

}
That is it guys! Hope you enjoyed.
Follow me on Twitter for more content like this.
